
Once you see clumps of butter forming, stop churning. Use a spatula to gather the butter clumps and place them in a fine-mesh strainer or on a fresh piece of cheesecloth to remove the buttermilk.
Rinse and Shape
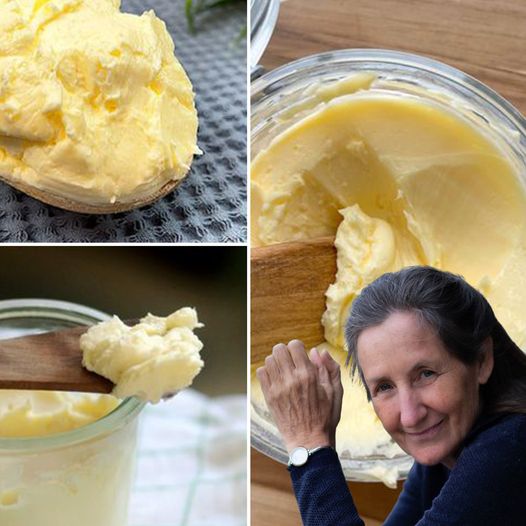
To ensure a longer shelf life for your butter, rinse it under cold water to remove any remaining buttermilk. Then, shape the butter however you like. Some people prefer molding it into blocks, while others like rolling it into logs wrapped in parchment paper.
And voilà! Your homemade butter is ready – smooth and creamy, made from a simple bowl of yogurt. This butter not only showcases your culinary skills but is also a healthier option since it doesn’t contain any preservatives like store-bought alternatives.
Embracing Handmade Quality
By making your own butter, you’re not only creating something delicious but also embracing a bit of culinary history. It’s about taking a moment to slow down, savor the process, and reconnect with the self-sufficiency of the past. Use your homemade butter in your favorite recipes, spread it on toast in the morning, or melt it over a steaming pile of veggies. Each time you make it, savor the satisfaction of creating something from scratch and enjoy the rich, creamy flavor that comes with it.
So next time you reach for that tub of yogurt, remember the potential it holds. With a little bit of effort, you can easily turn it into butter and add a unique touch to your recipes. Enjoy the process of creating as well as the tasty results that follow. Happy butter making!
👇 To continue reading, scroll down and click Next 👇
ADVERTISEMENT
