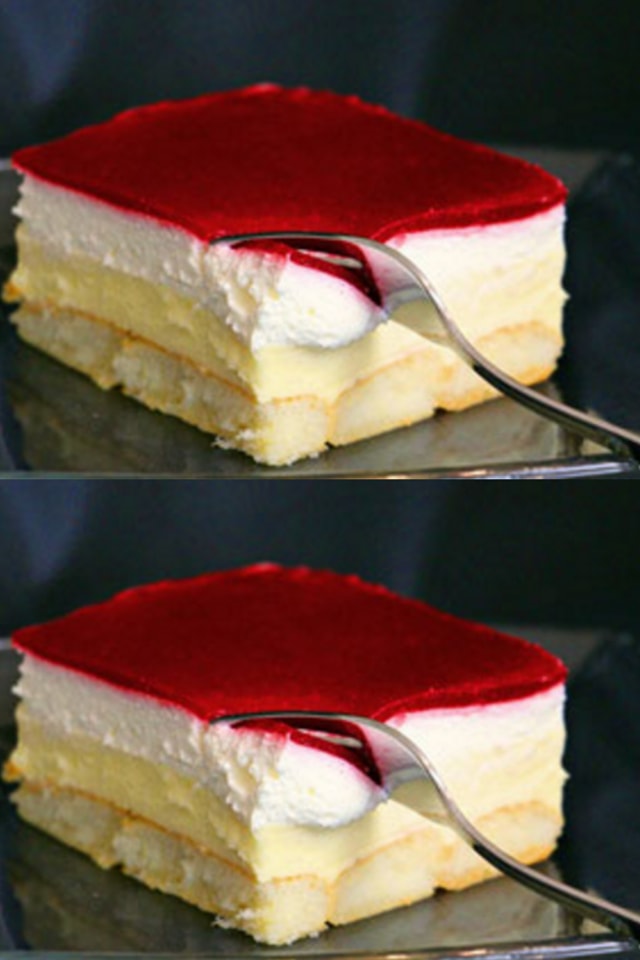
preparation
First, remove the butter from the fridge so that it is at room temperature. they can accept it and also the raspberries, which should thaw a little.
Prepare the pudding. Open the vanilla pod, remove the pulp and place it in a bowl.
Add the sugar and mix the pulp with the sugar well so that there are no lumps.
Add 300 ml of milk and 3 packets of pudding powder and mix the ingredients. Bring the remaining milk to the boil.
As soon as the milk boils, add the vanilla pudding mixture.
When the mixture has slowly thickened, turn off the heat. heat and stir until the pudding has the consistency as in the video.
Place a layer of cling film on the pudding so that it touches the pudding and leave to cool.
For the base, put the fruit juice in a bowl.
Prepare the ladyfingers and a mold (mine was of these dimensions: 37x25x7 cm). Simply swirl the ladyfingers briefly in the juice and place them in the mold next to each other.
Work the butter at room temperature with the mixer at maximum speed until creamy, then add one spoonful at a time to the cooled pudding. Take the time necessary to carry out this step because it will make the cream shiny and will not leave pieces of butter.
As soon as the layer of ladyfingers is complete, spread the cream over it as evenly as possible and place in the refrigerator .
Beat the whipped cream for 1 minute with the mixer at maximum level and then pour in the San Apart or the firm cream.
Spread the cream over the cream pudding and keep the cake in the fridge.
Place the raspberries in a saucepan with the sugar and heat. Then blend finely and filter through a sieve (it takes a little patience but it’s worth it).
Mix the powdered gelatine in portions into the still hot raspberry juice obtained. Be careful not to leave lumps. Leave the mixture to cool slightly and spread it carefully on the cream.
Do not smooth it, just spread it by moving the mold back and forth.
Place in the refrigerator for at least 2 hours and enjoy your meal.
👇 To continue reading, scroll down and click Next 👇
ADVERTISEMENT

